How to add custom fields to static pages in October CMS
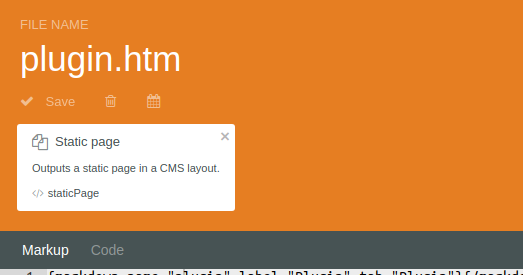
Assume that we have a page layout in the CMS section of October CMS named page.
Then adding some variables could look like this (in a not very useful layout):
{variable type="text" name="custom_title" tab="Custom"}{/variable}
{variable type="textarea" name="custom_description" tab="Custom"}{/variable}

{% partial "layout/doctype" %}
{% partial "layout/header" %}

<body class="page-{{ this.page.id }} layout-{{ this.layout.id }}">
<header id="layout-header" class="header-navbar">
    {% partial "navigation/menu" %}
</header>
<!-- Content -->
<div id="layout-content" class="palette-clouds">
    <h1>{{ custom_title }}</h1>
    <p>{{ custom_description }}</p>
</div>
</body>
</html>
What is happening here?
We just have defined variables that will be presented in content editor of the page where you are going to use the layout with these variables.
But first notice the difference between the following definitions:
/* the type `text` as tag delimiter */
{text name="text" label="Text" tab="Text"}{/text}

/* `variable` as tag delimiter */
{variable type="text" name="text_as_variable" tab="Text" label="Text defined Variable"}{/variable}- When using the type ("text") as tag it will output the result without any twig mustaches required in your page presentation. So you add this exactly on the spot where you need it. This could be useful for a title, which is only used once.
- When using
variableas tag it will store the result in a variable with the propertynameand that can be used in your twig between the{{}}mustaches.
variable tag, for this makes it easier to debug your source in case of trouble.The format is easy:
/**
   start with `{variable`
   then with a type like `text` or `textarea` or `dropdown`
   then give it a name
   then give it a label, which is used in the editor as field label
   then tell on what tab it will be show in the editor (this is alphabetic order)
   close with a closing `{/variable}`
 */
{variable type="text" name="custom_variable_ive_created" tab="Custom Tab"}{/variable}
List of variable types
{variable type="text" name="text_as_variable" tab="Text" label="Text widget"}{/variable}
{variable type="textarea" name="textarea" label="Textarea widget" tab="Text"}{/variable}
{variable type="richeditor" name="richeditor" label="Richeditor widget" tab="Editors"}{/variable}

{variable type="markdown" name="markdown" label="Markdown editor" tab="Editors"}{/variable}
{variable type="mediafinder" name="mediafinder" mode="image" label="Mediafinder widget" tab="Uploads"}{/variable}

{variable type="dropdown" name="dropdown" label="Dropdown widget" tab="Selection" options="blue:Blue | orange:Orange | red:Red" }{/variable}
{variable type="radio" name="radio" label="Radio widget" tab="Selection" options="y:Yes|n:No|m:Maybe"}{/variable}
{variable type="checkbox" name="checkbox" label="Checkbox" tab="Selection" default="checked"}{/variable}

{variable type="datepicker" name="datepicker_date" label="Datepicker (Date only)" mode="date" tab="Selection"}{/variable}
{variable type="datepicker" name="datepicker_time" label="Datepicker (Time only)" mode="time" tab="Selection"}{/variable}
{variable type="datepicker" name="datepicker" label="Datepicker (Date & Time)" tab="Selection"}{/variable}

{variable type="repeater" name="repeater" prompt="Add another repeated field" tab="Repeater"}
    <h2>{variable "text" name="title" label="Title"}Title{/variable}</h2>
    <p>{variable type="textarea" name="content" label="Content"}Content{/variable}</p>
{/variable}
Official documentation, not very much
Official documentation of the use of form widgets you can find on the Github page of the Rainlab Static page plugin.
Connect the Static Page component to the layout
To make use of your own fields in static pages you have to define the fields in a page layout that contains the Static Page component.
Find the Static page component

Linking the component
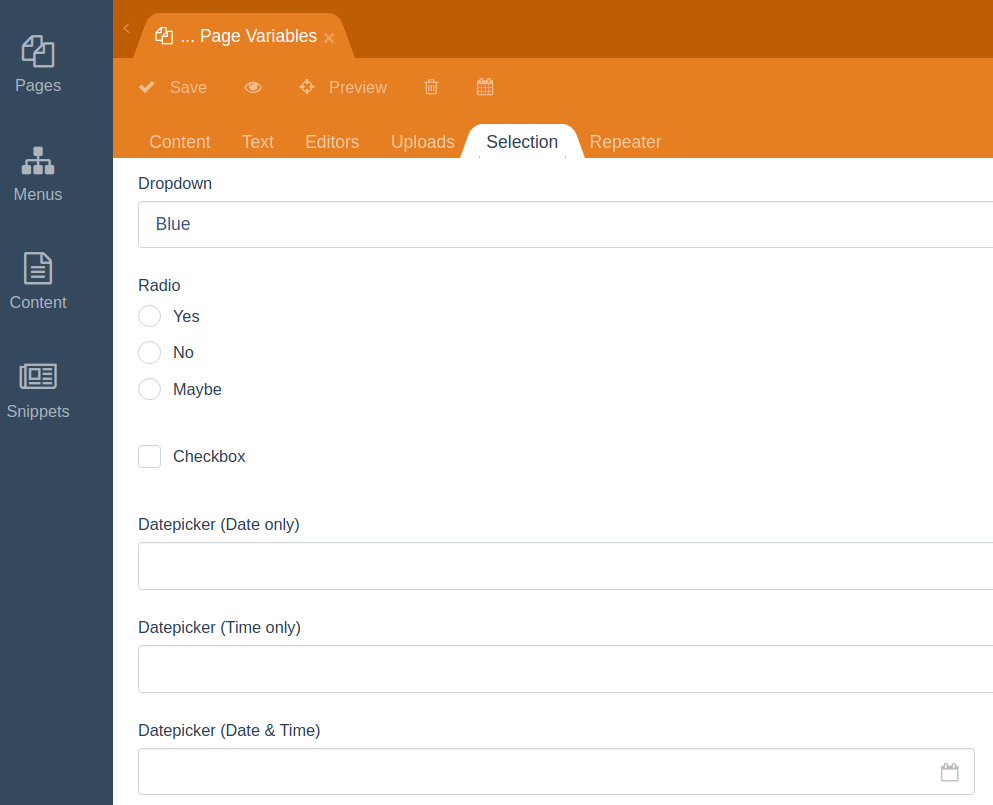
Editing a page with custom fields
Now let us see how this is presented when editing the page:
Now a more useful sample: editing static pages with the markdown editor
By default the static pages with Rainlab's Static Pages plugin is using a HTML editor rather than the markdown editor of the Blog plugin. Let's change that with the use of variables.
In a newly created Markdown layout page that will be used for markdown written static pages we are going to add some variables. You can use your own as well.
Insert the following variables at the top of the layout
{variable type="markdown" name="page_content" label="Content" tab="Page"}{/variable}
{variable type="mediafinder" name="cover_image" mode="image" label="Cover Image" tab="Thumbnail"}{/variable}
{variable type="text" name="cover_title" label="Title" tab="Thumbnail"}{/variable}
{variable type="text" name="cover_alt" label="Alt" tab="Thumbnail"}{/variable}
{variable type="text" name="cover_classes" label="Classes" tab="Thumbnail"}{/variable}
You can use these variables in your layout like this
<div id="layout-content" class="palette-clouds">
    {% if cover_image|default(false) %}
        <div class="container-fluid">
            <div class="row">
                <img src="{{ cover_image|media }}" title="{{ cover_title}}" alt="{{ cover_alt }}" class="{{ cover_classes }} img-fluid" />
            </div>
        </div>
    {% endif %}

    <div class="container-fluid container-xl">
        <div class="p-2 pt-3 p-lg-5 mt-lg-3 mb-lg-3 bg-white">
            <div class="row">
                <div class="col-12 pb-3">
                    <h1>{{ staticPage.title }}</h1>
                </div>
            </div>

            <div class="row">
                <div class="col-12">
                    <div class="content-article fs-1-3rem md-fs-1-8rem">
                    {{ page_content|md }}
                    </div>
                </div>
            </div>
        </div>
    </div>
</div>To make it work you have to include the Static page component in this layout. Put the settings for this component exactly like shown in the image below (except for maybe the name):
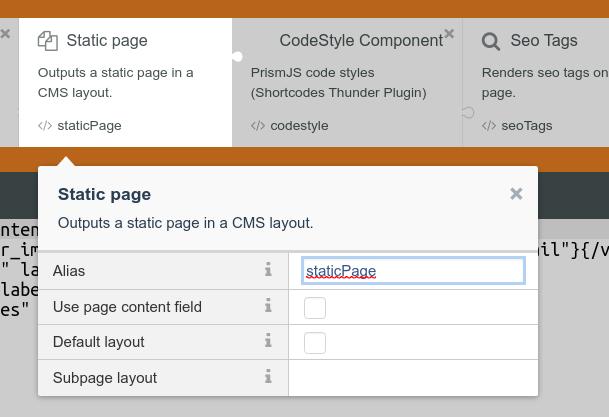
You can see that Default layout like the Use page content field is unchecked. This means that it will show you only the fields that you have created.
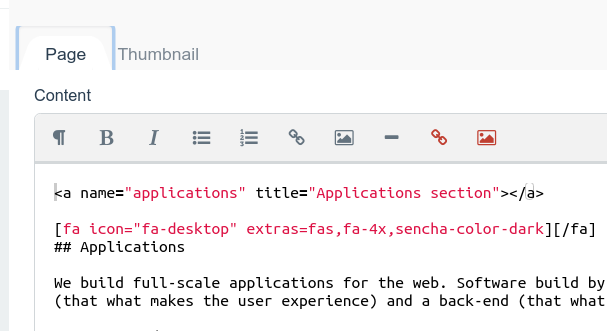
Now it is time to create a page with the Markdown Page layout you have just created.
The layout is set to the Markdown Page layout

The page tab showing the markdown editor
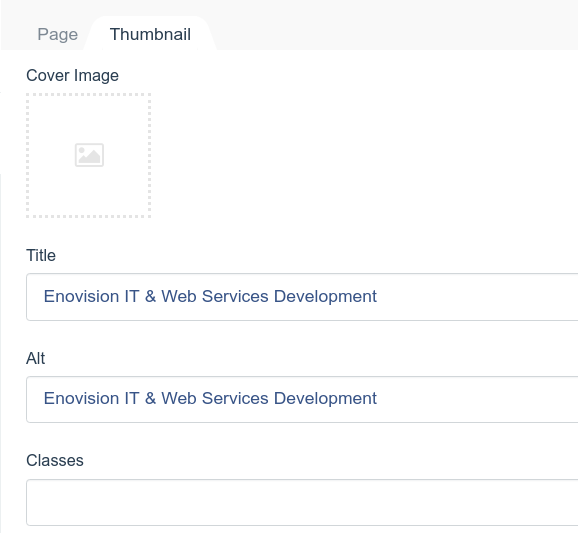
The thumbnail tab showing the fields for the image we require
Where does it get us?
First of all you are able to make page layouts that consists only of fields that you have defined. In our sample we have eliminated the HTML editor on a layout for just making markdown edited pages.
It doesn't replace the database tables you can use in your own plugins to make even complete applications with October CMS.
But is more than a nice to have feature.

Johan van de Merwe
More from same category

|
|

|
|

|
|

|
|

|
|

|
|

|
|

|