Solving the scanner I/O issue with the CanoScan LiDE 300 in Ubuntu
The Canoscan LIDE 300 is a low priced usb port powered page scanner from Canon. When using it under Windows it is very easy to make it work, but we love Linux don't we. Well, it didn't work right out of the box, but this article shows what I did to make it work.
Step 1. install the drivers from Canon (applies to this scanner only)
On the Canon website you can find the Linux driver for this scanner by following this link.
Unpack this driver to an easy to find location and open that folder in a terminal. In this folder you'll find a file named install.sh. Now enter the following command when in the terminal session:
The driver will now be installed and you are ready for step 2.
Step 2. install some more
Following the recommendations from this link, you execute the following steps:
Once that is done, you are can check if the scanner can be found with the following command:
The output could be something like:
device `hpaio:/net/HP_LaserJet_3055?hostname=EVPRT01.local` is a Hewlett-Packard HP_LaserJet_3055 all-in-one
In this case you see that there are 2 scanners found, but the first one is the Canon LiDE 300. You could now try and scan something. You can do that with Gimp or if you would like PDF output you could use the free and simple to use, but so effective Document Scanner. You can find it in the Ubuntu Software Repository.

Step 3. and then it stopped scanning after just one page
I am using a Dell Latitude E7240 for scanning and after I scanned a single page the laptop was complaining about an I/O error.
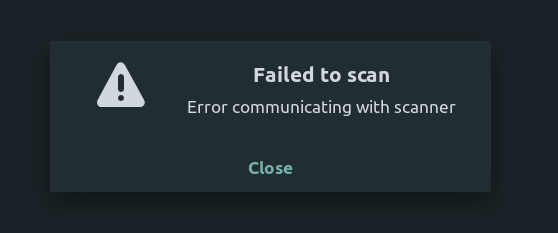
This is an error which is found quite often in forums, but thanks to this little bash script I was able to solve it. Thanks to this link.
#!/bin/bash

for dev in /sys/bus/usb/devices/*/power/control; do
    echo $dev
    echo on > $dev
done
How to do it? Well, create a new file named something like usb-power and put the content in it which is displayed in the bash script shown.
Save this file and start a terminal session from the folder with the script just created.
Now enter:
This will show something like:
auto
on
auto
on
auto
auto
What this shows is the power status of the USB ports. When it is on it means that the operating system will not switch the power off when it thinks it is possible.
When it is auto it means that the operating system will decide if power is switched off when it thinks it is possible.
And now we are at the source of the solution to our I/O problem. The bash script we created changes the status of all usb ports to on, which means that the operating system will not interfere.
First make your script executable:
Now execute the script:
The result should now be depending on your USB configuration:
/sys/bus/usb/devices/1-1.5/power/control
/sys/bus/usb/devices/1-1.8/power/control
/sys/bus/usb/devices/1-1/power/control
/sys/bus/usb/devices/2-1/power/control
/sys/bus/usb/devices/2-4/power/control
/sys/bus/usb/devices/2-6/power/control
/sys/bus/usb/devices/3-1/power/control
/sys/bus/usb/devices/usb1/power/control
/sys/bus/usb/devices/usb2/power/control
/sys/bus/usb/devices/usb3/power/control
Remember, this is a one strike, hit all appraoch, but if you know what usb port your scanner is connected to you can also change the power for only the port neccessary.
Did it work?
This is the result of 2 bookcovers scanned after eachother, no more I/O error.


Johan van de Merwe
More from same category

|
|

|
|

|
|
|
|

|
|

|
|

|
|

|